Check image dimensions in Dosya
Check image dimensions in Dosya with a controlled test, clear verification, limits, and recovery steps.
Last reviewed
Check image dimensions in Dosya is easier to verify when you use one controlled item and confirm the account, workspace, source, and destination at each step. This guide follows the current Dosya workflow and identifies the result you should see.
Before you start
- Open the Dosya media viewer and File details in the current released client.
- Confirm the active account and workspace, then identify known image file.
- Use a small non-confidential test item and record its current state before changing it.
- Keep passwords, API keys, recovery codes, private links, personal data, and confidential file contents out of screenshots and support messages.
Steps: check image dimensions in Dosya
- Open the Dosya media viewer and File details and confirm the active account and workspace.
- Locate known image file and verify its name or identifying details.
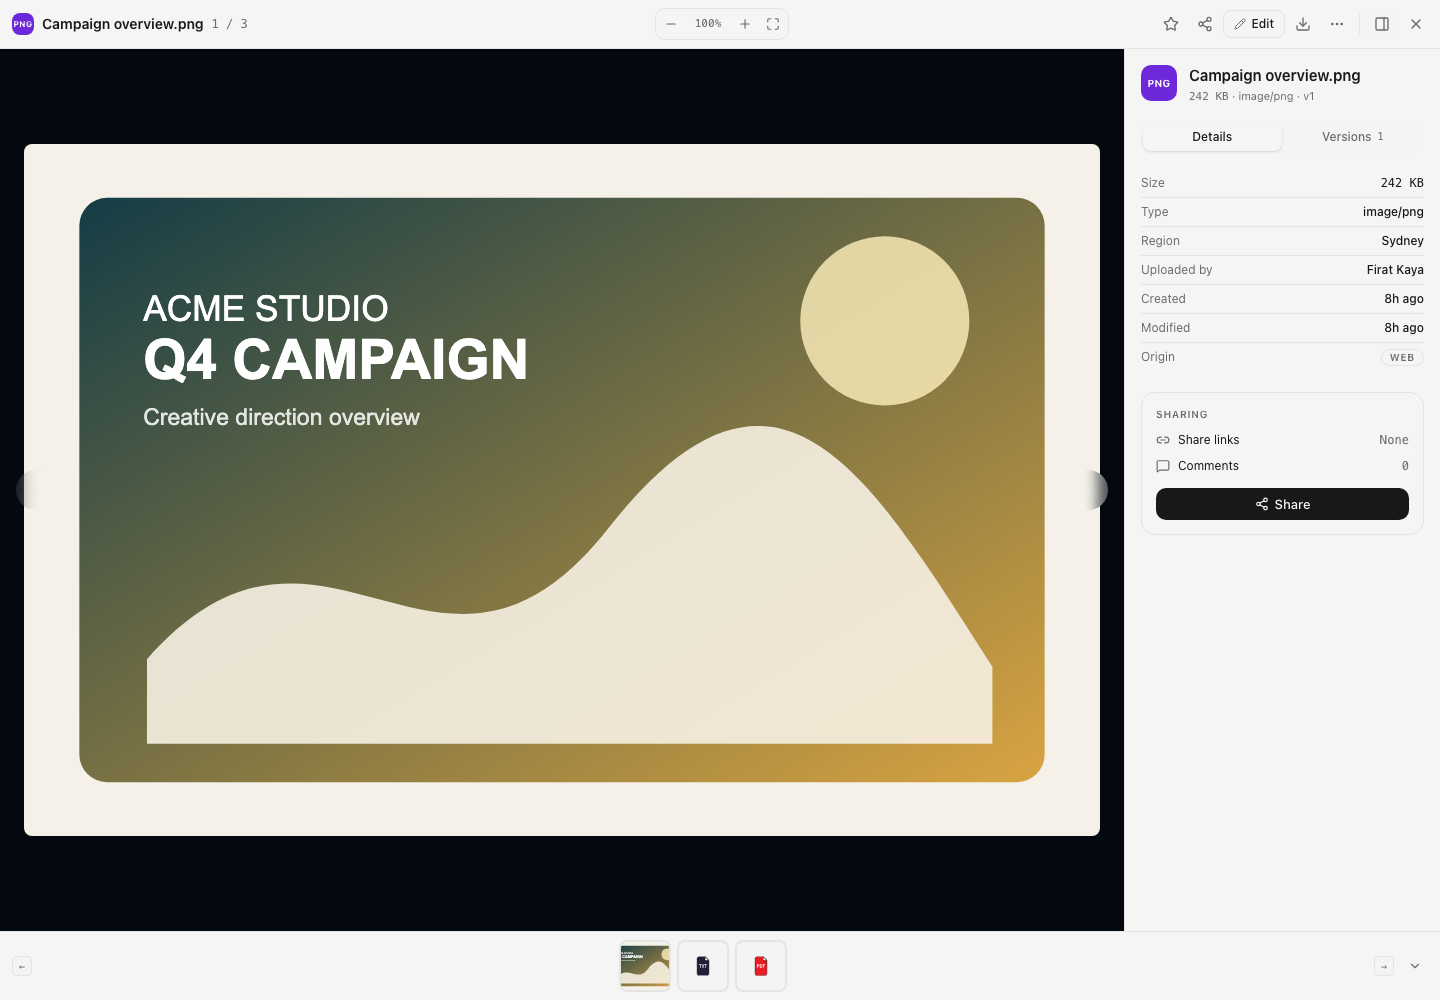
- Open its preview and details, compare width, height, format, and byte size with the source record.
- Read the displayed warning, permission, progress, or confirmation state before leaving the screen.
- Confirm that the displayed dimensions identify the intended image asset.
- Refresh, fetch, or reopen the relevant view once to verify the result persisted.
Expected result
The controlled workflow completes and the displayed dimensions identify the intended image asset. The result remains visible after a refresh, reconnect, or return to the relevant screen.
Limits and important details
- Available controls depend on the current client version, account plan, workspace role, policy, and selected integration surface.
- Processing, indexing, background transfer, provider authorization, or storage accounting can delay a visible result.
- For destructive, access-changing, or automated actions, validate with disposable data before applying the workflow to important files.
Troubleshooting
The expected control is missing. Return to the Dosya media viewer and File details, confirm the active workspace, and check that your role and client version support the action.
The operation is rejected or stalls. Read the exact message and check permissions, locks, storage, network state, source availability, and any third-party authorization before retrying.
The result is still unclear. Repeat with one small test item, then contact support with the time, client version, workspace, and a nonsecret error, delivery, or request identifier.
Related guides
Was this helpful?
Loading helpfulness results…
Voting saves a necessary ballot cookie for up to 180 days so you can change your answer.
Questions and replies
Ask about the steps in this guide. Questions are reviewed before publication.
Keep account details, credentials and private files out of public questions. Use private support for those.
Loading questions…
Sign in to your Dosya account to ask a question.